Repair after water damage: a step-by-step guide
Repair after water damage always follows the same order: stop the source, record and report the damage, dry the structure thoroughly, and start rebuilding only once moisture readings confirm it is genuinely dry. Reverse that order and you finish over a problem that returns months later as mould or as rotten timber.
What to do immediately, and what not to touch
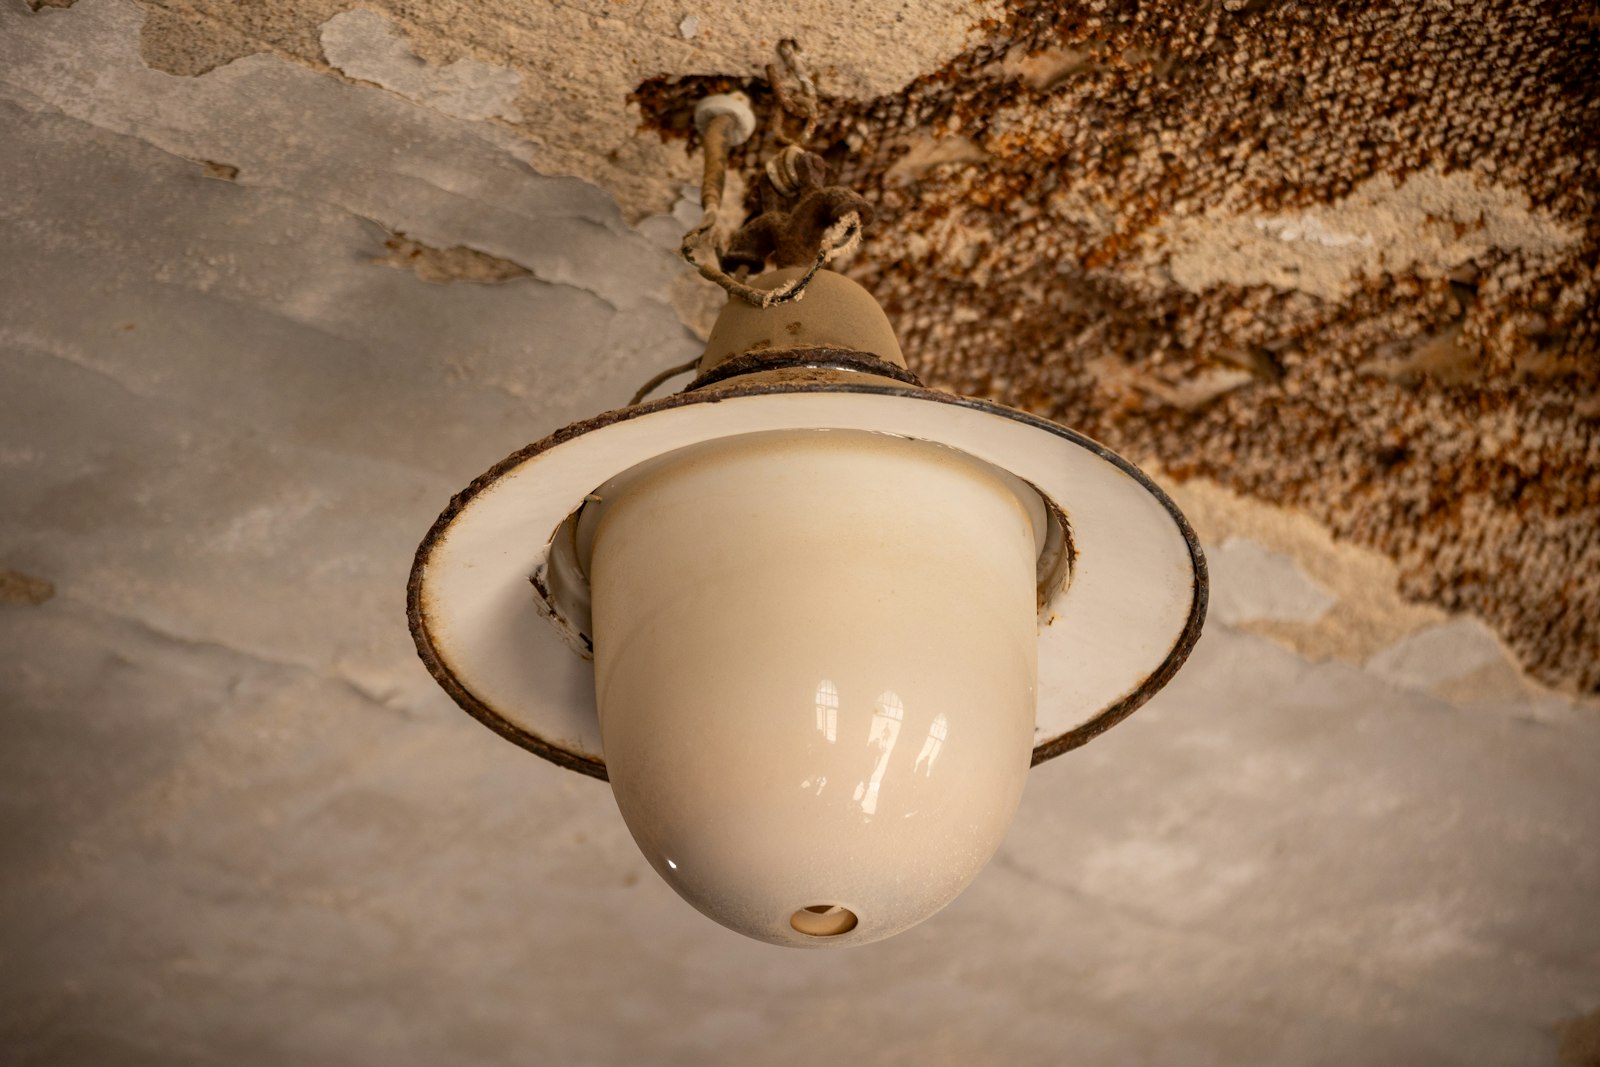
Shut off the supply if the leak is in your own plumbing and remove standing water. Stay away from sockets, the consumer unit, ceiling lights and appliances in any wet room. Water and electricity together are a genuine danger to life: have an electrician isolate the circuit and inspect the installation before anyone starts working in the space.
Photograph everything before you clear up, including where the water came from. Report the damage to your insurer and ask whether you may begin repairs, because many policies want a loss adjuster to attend first. In an apartment, notify the VvE, the owners association, as well.
Who is responsible
In an Amsterdam apartment the water frequently does not originate in your own home. A leaking shared riser, the roof, a gutter or the facade usually falls under common property and therefore under the VvE, while a burst flexible hose under your own basin is yours. When the leak comes from the flat above, both that neighbour liability and the split in the deed of division come into play. Establish where the water came from and when: that single question decides who pays, and it is very hard to reconstruct after the fact.
The main stages
- Stop and make safe. Seal the leak, have the electrics assessed.
- Record and report. Photos, dates, insurer, VvE, neighbours where relevant.
- Leak detection. Where the source is unclear, use moisture or thermal imaging before opening up walls.
- Strip what will not dry. Saturated plasterboard, wet insulation, swollen laminate and blown plaster come out.
- Dry and measure. Dehumidifiers and air movers, with readings taken until values return to normal. Days to weeks, not hours.
- Assess the structure. Joists, floorboards and bearings examined by a professional.
- Deal with mould. Remediate affected material rather than cover it.
- Rebuild. Patch plaster, refinish ceiling and walls, relay flooring, redecorate.
Timber floors and joists
The typical Amsterdam upper floor is timber boarding on joists. Timber holds water for a long time, especially under a sealed floor covering. The surface can feel dry within a week while the joist ends built into the wall are still wet, and that is exactly where rot starts, invisibly. Where water has run through, the floor should be opened and readings taken inside the timber, not just on the surface. If joists or joist ends look affected, that is work for someone with structural competence, not a quick patch.
Mould is not a stain
Mould after a leak is a health issue, not a decorating issue. Spores travel through the home and irritate airways. Painting over it with a mould-resistant coating hides it and solves nothing. Affected plasterboard and insulation are removed, the area is contained and ventilated during the work. Where the affected area is large, or where residents have respiratory complaints, bring in a specialist firm.
What the price depends on
Restoration rarely fits one rate. Drying is charged per unit per day, repair work per square metre or per hour, and the total only becomes firm after an inspection.
- Size of the wet area and how many adjoining rooms are involved.
- How deep the water travelled: plaster only, or floor build-up and insulation too.
- Drying time, which drives the overall duration and therefore the cost.
- Structural repair to timber, an entirely different order of work from finishing.
- Mould remediation and the containment it requires.
- Finish level: patching a corner is not the same as replastering and repainting a whole ceiling.
- Access: an upper flat with no lift, a narrow staircase, little room for equipment.
Questions to ask the contractor
- Will readings be taken before repairs start, and can I see them?
- How do you determine that the structure is dry enough to close up?
- Who assesses the joists and who checks the electrics?
- What happens if more damage appears once the wall is opened?
- Do you provide a report I can submit to my insurer?
Common mistakes
Closing up too early. New plasterboard on a damp structure is money thrown away.
Treating only the visible stain. Water runs along pipes and joists; the damage is rarely where you see it.
Calling the insurer afterwards. Without a timely report and evidence, cover becomes an argument.
Working on wet electrics yourself. Never, under any circumstances.
Frequently asked questions
How long does drying take?
From a few days for a surface leak to several weeks for a saturated timber floor or wet insulation. Meter readings end the drying phase, not the calendar.
Can I stay in the property?
Usually yes, but not with widespread mould, wet electrics or an opened-up structure. That is a judgement for the professional on site.
Does the floor have to come out?
Not always. Laminate and wet insulation normally do, solid timber sometimes does not, provided the joists underneath can be inspected and dried.
The neighbour above denies it came from them. Now what?
Have leak detection carried out and put the finding in writing. If a shared riser or the roof is involved, the route is through the VvE and not the neighbour alone.
When can I paint?
Only once the substrate measures dry and the repaired plaster has cured. Painting sooner produces blistering and stains that keep coming back.