Insulating an Older Dutch Home: What to Do First, and What Can Go Wrong
Heat leaves an older Dutch house through the whole envelope, but not evenly. The roof and the ground floor over an unheated crawl space are usually the largest and cheapest wins, walls come next, and plain air leakage is a loss channel of its own. Diagnose moisture first, then insulate roof, then floor, then walls — and upgrade ventilation in the same project, not two winters later. Walls are where the job forks, and where the risk sits.
Where the heat actually goes
The build era tells you more than the postcode. Pre-1920 stock tends to have solid single-leaf brick with no cavity; interwar and post-war houses up to the 1970s usually do have a cavity (spouwmuur), left empty by design. Losses run through five routes: roof, the floor over the crawl space (kruipruimte), external walls, glazing and frames, and ventilation plus leakage. The split depends on the shape of the house and how many facades are exposed. A mid-terrace rijtjeshuis loses little through walls because both party walls border heated neighbours; the same package on a corner house behaves differently.
Air leakage is a separate problem: gaps at floor-to-wall junctions, around frames and at an unsealed crawl space hatch rival a badly insulated surface. Thermal bridges concentrate the rest, and that is where mould shows first.
Roof, then floor, then walls
The roof usually goes first: the largest uninsulated surface, accessible, and invisible from the street. If the attic is unheated storage, insulating the attic floor is far cheaper than the roof slope and delivers most of the gain. Insulation over the rafters is ideal when the tiles are coming off anyway; working from inside costs headroom and demands careful vapour-control detailing around every rafter.
The floor is second: fast, low disruption, immediately felt underfoot. Insulate the underside from within the crawl space, or treat the space itself with granulate or a vapour-retarding ground cover. Dutch crawl spaces are often damp, very low and sometimes holding water — have it assessed first, because floor insulation makes the space colder and can worsen condensation there.
Walls are third. Cavity fill (spouwmuurisolatie) is simple and invisible, but needs a cavity wide enough, clean and free of mortar bridges behind rain-tight brickwork; filling an unsuitable one carries water to the inner leaf.
Internal wall insulation and the condensation it creates
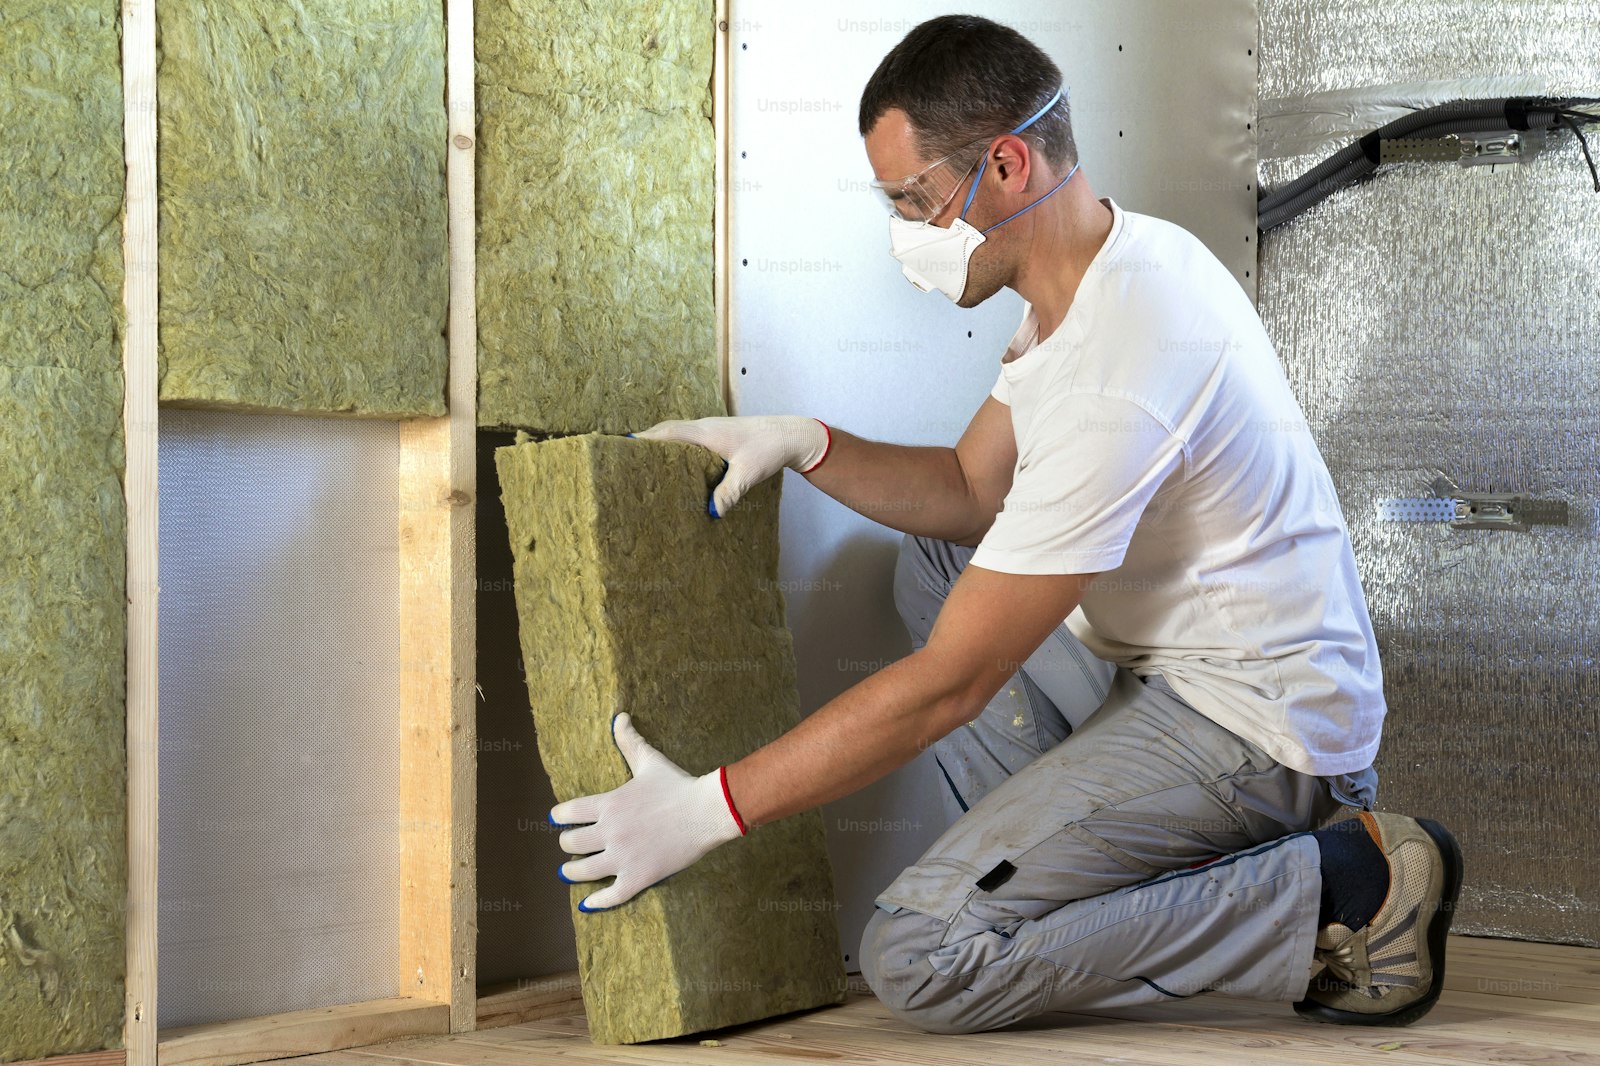
Internal insulation is the fallback when the facade cannot be touched and no usable cavity exists. It is the highest-risk measure here, and must be designed, not improvised. Insulating inside keeps the masonry cold: the dew point moves inward, and indoor moisture reaching that plane condenses invisibly until damage appears. The classic Dutch failure is beam ends (balkkoppen) — timber joists bearing into the external wall, which afterwards sit colder and wetter with less drying capacity.
Pick one coherent system and never mix: a vapour-tight build-up with a continuous, sealed vapour control layer on the warm side, or a vapour-open, capillary-active build-up such as calcium-silicate or wood fibre in a full adhesive bed. A vapour-open board behind impermeable paint or tiling is a moisture trap. Air gaps ruin both: any cavity letting warm air reach cold brick condenses whatever the board is rated at.
Resolve failed pointing, defective gutters and rising damp first — driving rain on west and south-west facades is serious here. Thermal bridges sharpen where the lining stops, so return insulation into the reveals.
Monuments and protected facades
Protection works at several levels — national monument status, municipal monument status, protected townscapes — each restricting different changes, so confirm the permit path for your address with your municipality. The consequence is consistent: anything altering the appearance of a visible facade — external insulation, new frames, changed glazing, altered roof covering — is most likely to be refused, which makes internal insulation the only wall option.
Rear facades and roof planes hidden from public space are usually where more is possible, so an early word with the municipal heritage advisor often reshapes the plan. The workable core is everything invisible from outside: roof insulation from inside, crawl space work, draught-proofing, secondary glazing.
Ventilation is part of the job, not an extra
Old houses ventilated themselves by accident through leaky frames, flues and grilles. Insulating removes that, so it must be replaced deliberately in the same project. Showers, cooking and laundry produce moisture continuously; drop the air change rate without a controlled route out and condensation lands on whatever cold surfaces remain. Mould then gets blamed on the insulation when it is a ventilation failure.
Three broad routes: window vents with mechanical extraction in kitchen and bathroom; balanced ventilation with heat recovery, which reclaims warmth but needs ducts and filter maintenance; or demand-controlled variants modulating on humidity. Supply into living and sleeping rooms, extract from wet rooms, keep transfer paths open. Open-flued appliances and geysers in a tightened house can also be starved of air.
What to ask a provider
Raise sound while floors and walls are open: fibrous insulation between joists absorbs it, rigid foam barely does, and linings come apart rarely.
Ask what gets assessed before work starts: crawl space condition and groundwater, the state of pointing and gutters, whether the cavity was inspected with a borescope, and where the floor joists bear. For internal insulation, ask which system is proposed and how the vapour strategy holds at reveals and beam ends. Ask what ventilation is included, and whether waste disposal and reinstating sockets are in scope. In an apartment, check with the VvE first: facade, roof and shared ducts are usually collective, and shared buildings often limit working hours.